
TURN PHOTO INTO COMIC BOOK EFFECT IN PHOTOSHOP TUTORIAL CARTOON IN PHOTOSHOP
STEP 1
Start with a photo that has a clean background, use this tutorial to clean up the background if you need to and replace it with a solid color.
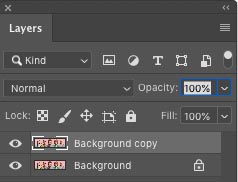
STEP 2
Duplicate the layer by pressing Cmd/Ctrl+J
STEP 3
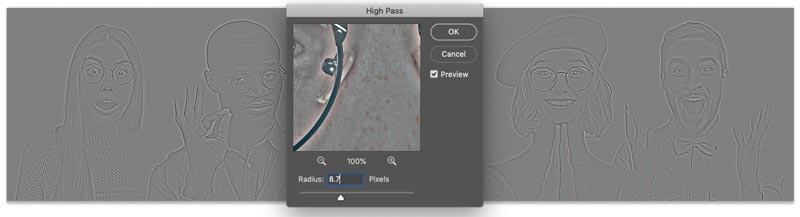
Choose Filter>Other>High Pass
Adjust until you see an outline. 8.7 in this case.
Click Ok
STEP 4
Duplicate the Layer (Ctrl/Cmd+J)
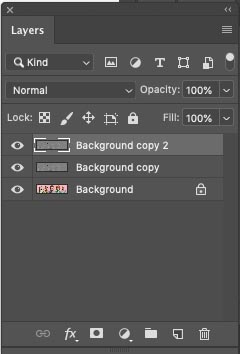
STEP 5
Invert the top layer (Ctrl/Cmd+I)
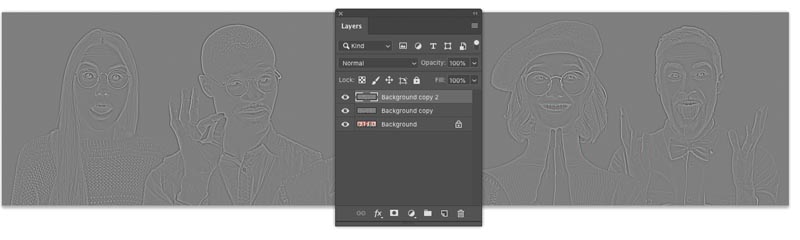
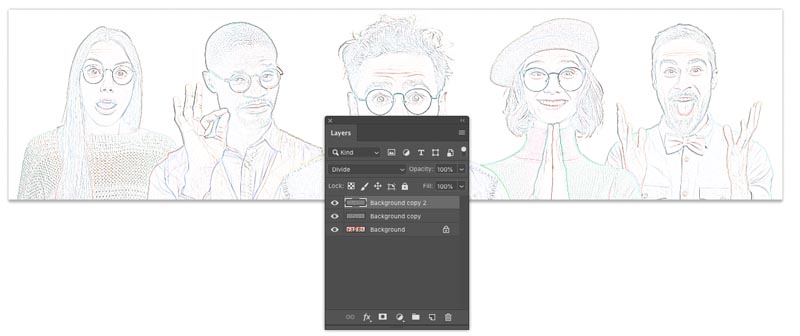
STEP 6
Change to Divide Blending mode. You should see something that’s starting to look like pencil sketch. (Free Blending Mode ebook here– over 1,000,000 downloads so far!)
STEP 7
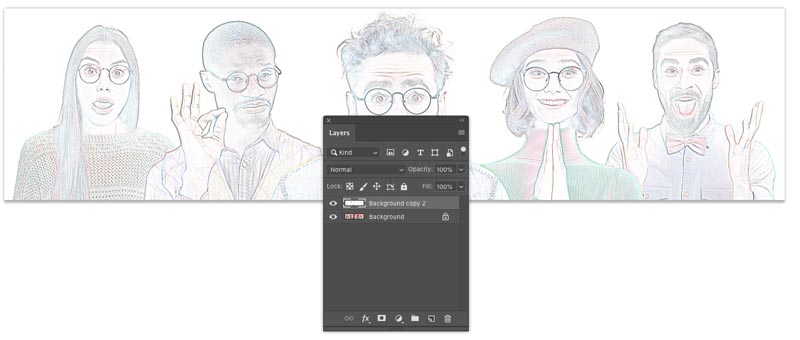
Merge the 2 top layers. Here is how…
Hold Shift and click on the second layer, so that the 2 top layers are selected.
Press Cmd/Ctrl+E to Merge the 2 top layers.
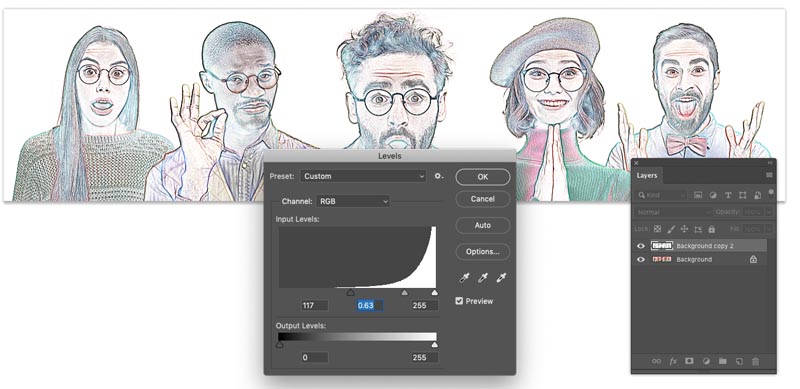
STEP 8. SQUEEZING THE DETAILS.
Press Cmd/Ctrl+L for Levels. (Or create a Levels adjustment layer)
Slide the black slider to the left until is hits the white area of the histogram (117)
Move the gray, mid tone slider to the right until the image looks like below. (.63)
Click ok
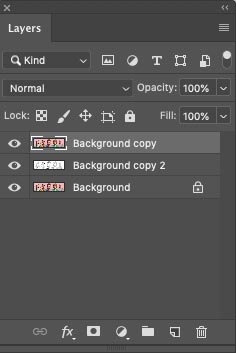
STEP 9
Duplicate the background (Ctrl/Cmd+J) Drag the new duplicated layer to the top of the layers panel
STEP 10
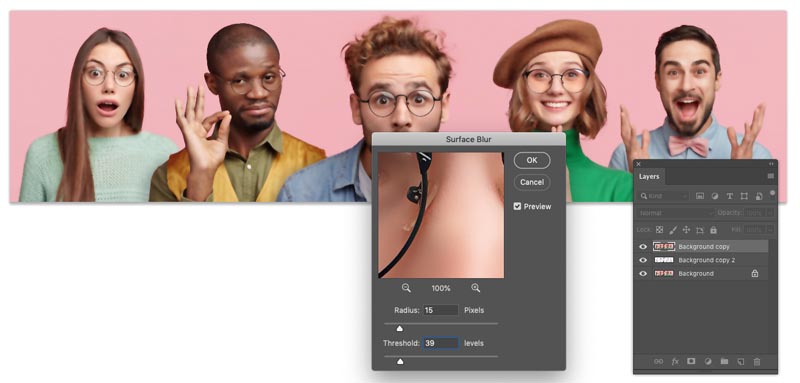
Choose Filter>Blur>Surface Blur
I chose: Radius 15 / Threshold 39 (Your settings may vary if you are using different resolution images)
We are looking for a nice smooth look to the surface color and texture and still keeping outline detail.
STEP 11
Now we have options, depending on the result you want.
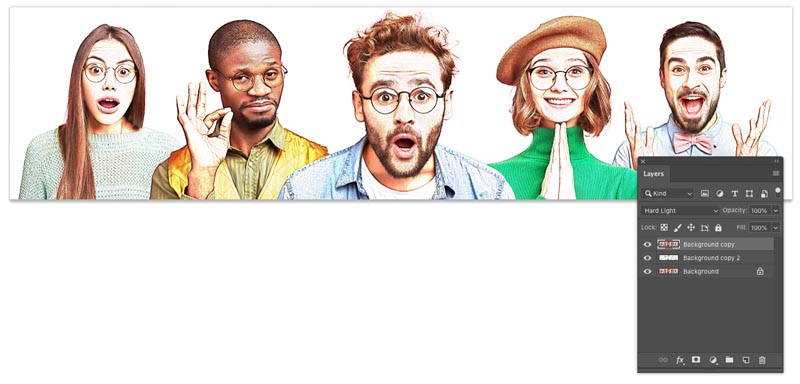
My preferred option is to choose Hard Light mode, by changing the where it says Normal in the Layers panel
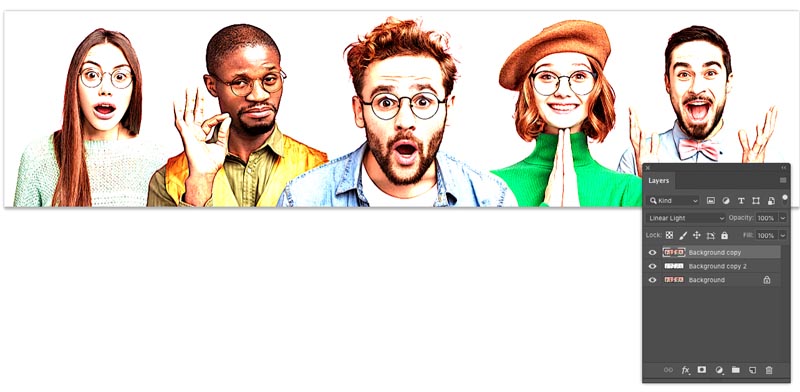
This is what it looks like in Linear Light mode
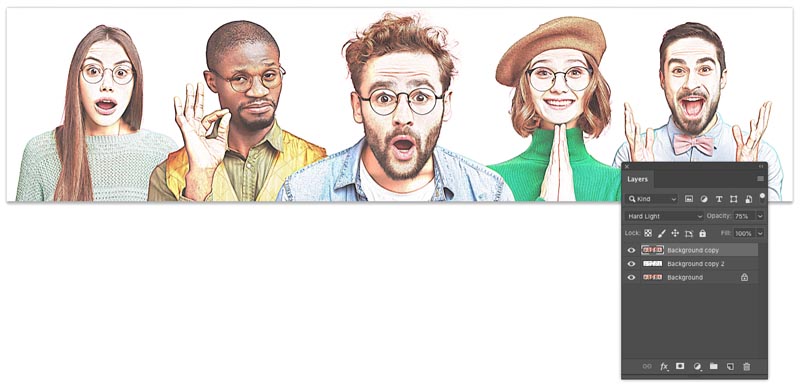
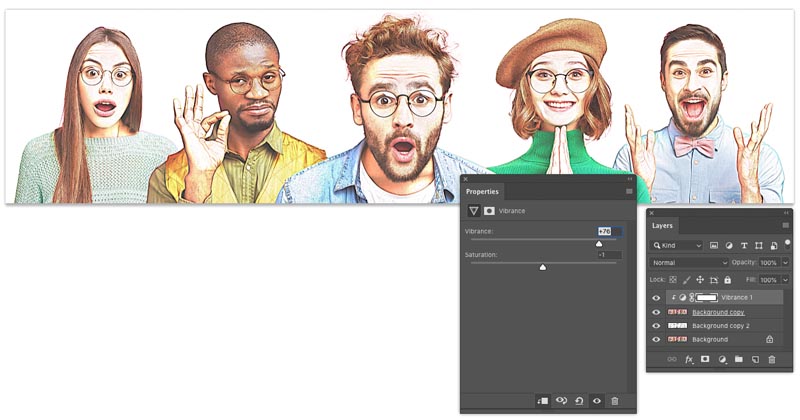
OPTIONAL STEP: VARIATIONS OF THE STYLE
If you like, you can adjust the opacity for a variation
Also consider adding a Vibrance adjustment layer to boost the colors.

You May Also Like

BLENDING PHOTOS TOGETHER PHOTOSHOP LAYER MASKS TUTORIAL

HOW TO REMOVE SHADOWS FROM A PHOTO IN PHOTOSHOP
