
HIGH PASS SHARPEN, THE PRO WAY TO SHARPEN YOUR PHOTOS IN PHOTOSHOP TUTORIAL
STEP 1
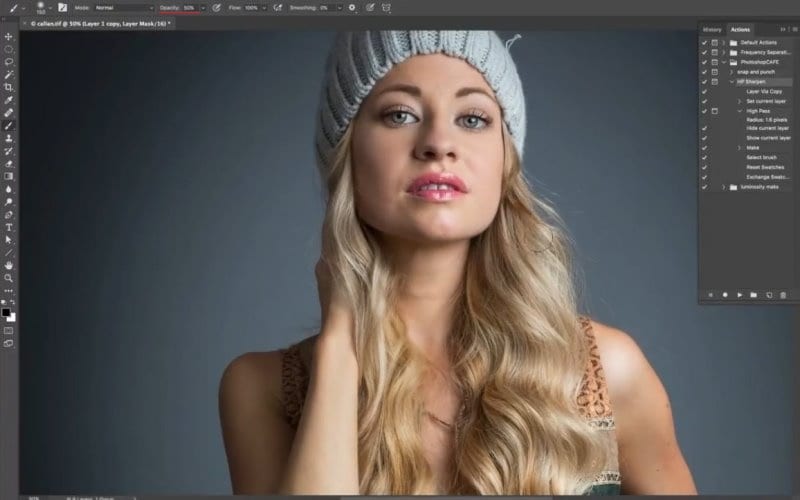
Let’s start here with a photograph that I shot last week Calan, it’s looking pretty good but it needs a little bit of sharpening.
Now obviously, we don’t want to sharpen the whole photograph. We don’t want to sharpen her face and her skin and her hair because that doesn’t look good. But we need to sharpen the rest of the photo and then we are going to paint it away from those other areas.
STEP 2 RECORDING AN ACTION IN PHOTOSHOP
When you make actions in Photoshop, you are creating a little macro script. Fortunately, you don’t need to do any coding. Just hit record and Photoshop will memorize everything that you do. You will be able to play it back on any photo and Photoshop will automatically repeat the steps. This is an action and they are wonderful!
Open the Actions panel by clicking F9 or going to Window>Actions
Here’s the Actions Panel opened.

STEP 3
Create a new Action by clicking on the icon at the bottom of the Actions Panel.

Name it HP Sharpen
Under Set, I selected PhotoshopCAFE (make any set you like, custom is a popular name).
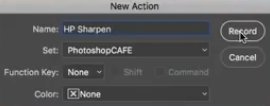
Click Record and the red recording button appears. You are now recording the action.
Lets continue with the tutorial on sharpening.
STEP 4. HIGH PASS SHARPENING IN PHOTOSHOP
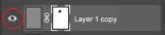
Duplicate the Layer by selecting it and hitting CTRL+J.
Change the new Layer’s blending mode from Normal to Overlay.
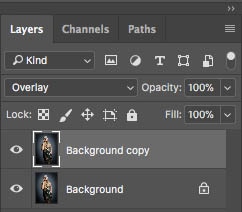
It will look a little strange right now, don’t be alarmed, it’s part of the process

STEP 5
Go to Filter>Other>HighPass
Choose a radius that provides the amount of sharpening that you want. Don’t overdo it. Usually between 1-2 is usually enough.
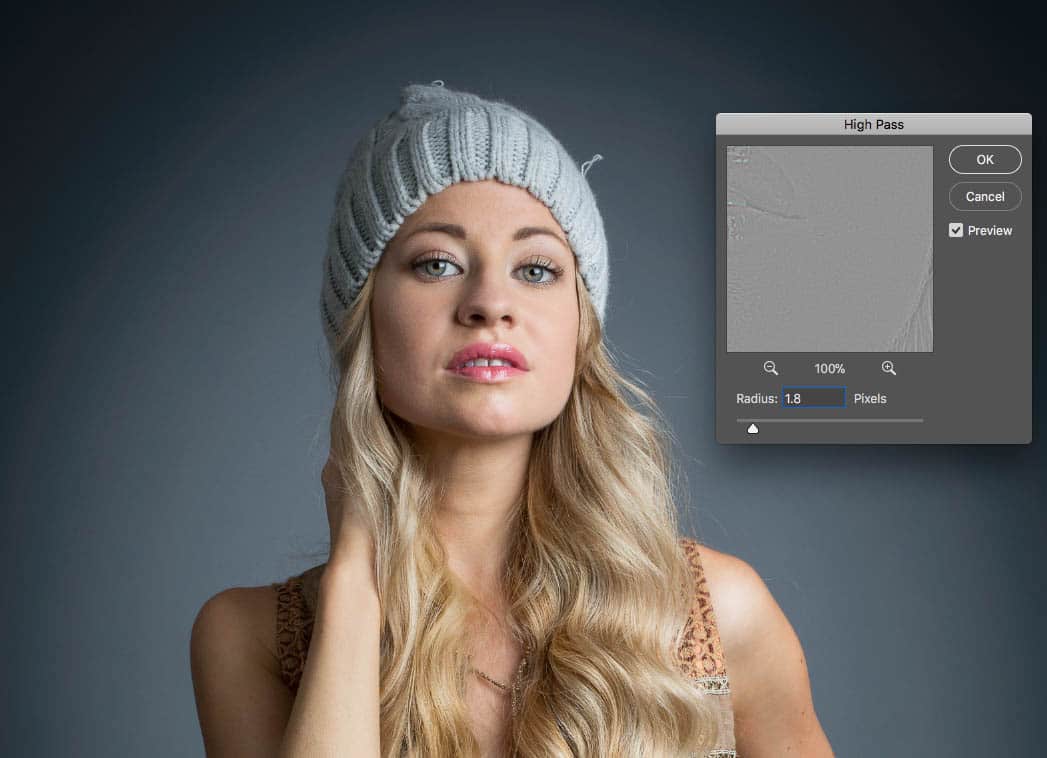
Click OK.
STEP 6 SETTING UP THE MASKING
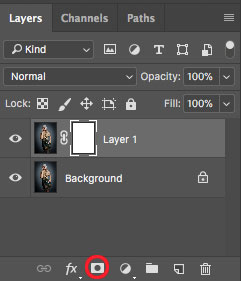
Create a layer mask by clicking the layer mask icon.
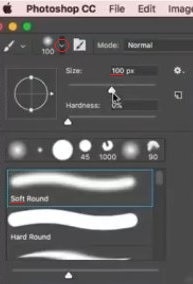
Grab a brush by hitting B.
Set the size of your brush to 100 px.
Select Soft Edge brush.
STEP 7
Reset the foreground/background colors by hitting the D key.
Press the X key to set the foreground to black.
STEP 8. FINISHING UP THE ACTION AND INSERTING A STOP
(If you aren’t recording n action, skip to step 9)
Stop the Action by clicking the little stop icon in the Actions Panel.

We have now finished recording the action. However, it’s going to apply the same amount of Sharpening to every photo. We want to be able to adjust this setting as the action is playing. Here is how to adjust a setting mid-action.
Go to your Actions panel.
Click to create the little box next to High Pass.
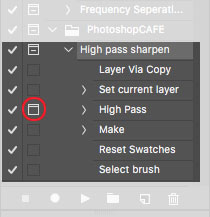
Now when it comes to the high pass settings, the action will pause and present the dialog box for you to chose a setting.
Once you have input your selection, the action will continue playing. Pretty neat aye?
This action, adds the High pass sharpening and sets everything up for us to do the masking (which we will do manually next).
Note: To use this action, just choose a photo, select the action and click play (the arrow icon) and all the steps will be repeated.
STEP 9 SELECTIVE SHARPENING
Now we are going to use masks to paint away the areas that we don’t want sharpened.
Note that we can paint with a black brush to hide the sharpening.
(Pro Tip: We can also use a gray brush to reduce the amount of sharpening and not fully remove it)
Select the layer mask
Paint with black into the areas that you want to hide the sharpening
In this case the eyes, nostrils, brows, mouth and hat are sharpening, but not the skin on her face or her hair.
We didn’t blur the skin, we just didn’t apply any extra sharpening to it. (You don’t want to go around just blurring skin, thats not the way to retouch. Try this technique for perfect skin)

You May Also Like

HOW TO INSTALL LUTS AND HOW TO USE LUTS IN PHOTOSHOP

RIDICULOUSLY EASY WAY TO REMOVE POWER LINES FROM A PHOTO IN PHOTOSHOP
