
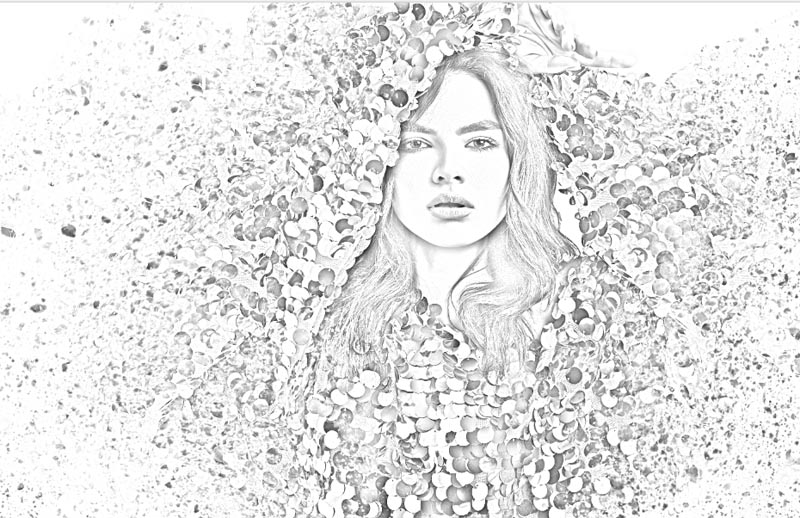
HOW TO USE THE NEW AND IMPROVED SKETCH EFFECT IN PHOTOSHOP TO TRANSFORM A PHOTO INTO A PENCIL DRAWING
THIS WORKS IN ALL PHOTOSHOP VERSIONS.
STEP 1
Duplicate the Layer (Ctrl/Cmd+J)

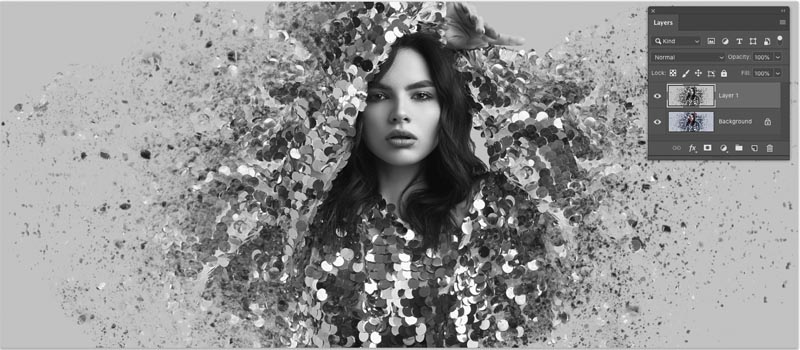
STEP 2
Convert the new layer to Black and White (Ctl/Cmd+Shift+U)
STEP 3
Duplicate the black and white layer (Ctrl/Cmd+J)
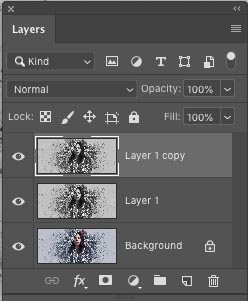
We now have 2 black and white layers
STEP 4
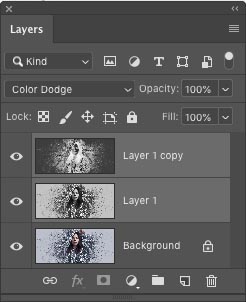
Invert the top Black and white layer (Ctrl/Cmd+I)
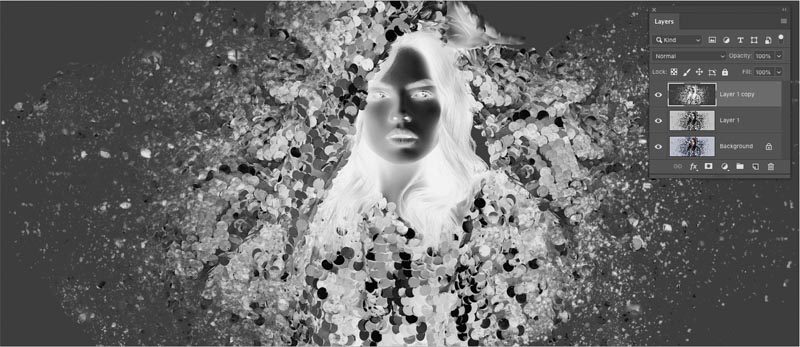
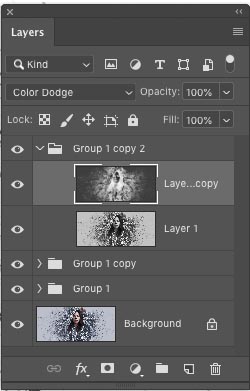
STEP 5
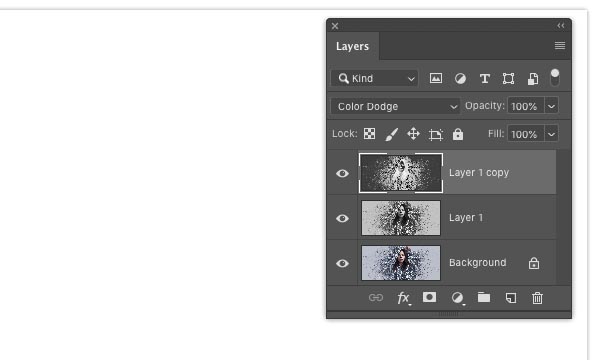
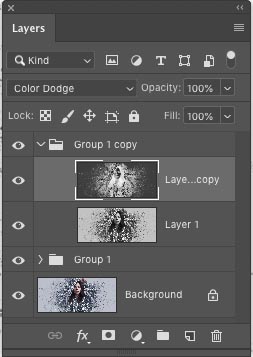
Change the Blending mode to Color Dodge (Click on Normal in the Layers panel)
The image is all white, this is normal and expected.
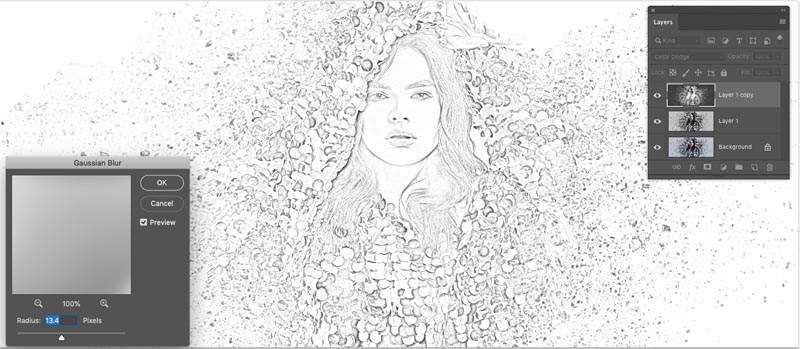
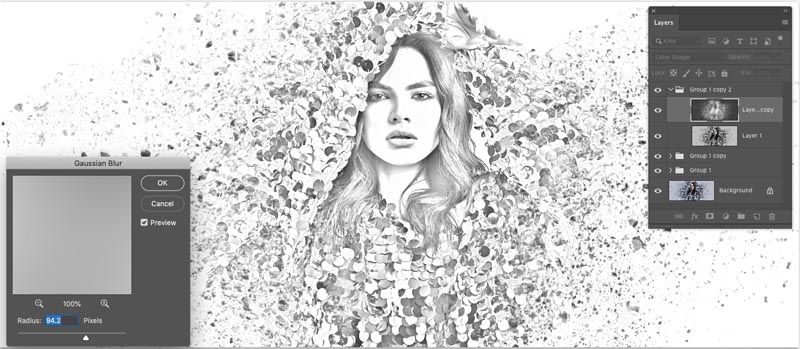
STEP 6
Filter>Blur>Gaussian Blur
Move the amount slider just enough so that we get a nice thin, but clear outline around everything.
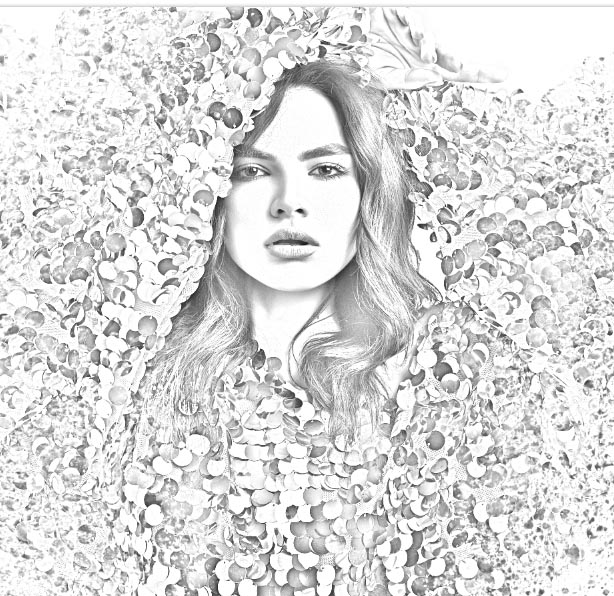
We now have an etched effect
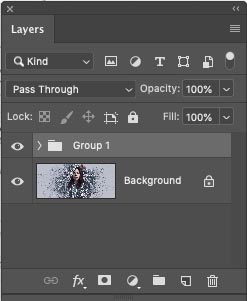
STEP 7. ADDING THE SHADING
We now have a nice outline, but we want to add smooth shading, (this is where other tutorials usually stop).
Select both black and white layers and press Ctrl/Cmd+G to place into a layer group.
STEP 8
Duplicate the group. Click on the group in the Layers panel and press Ctrl/Cmd+J.
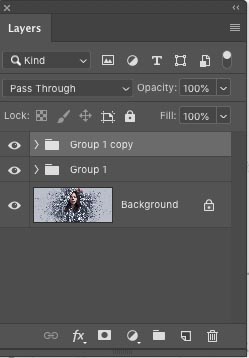
STEP 9
Choose the top layer in the top group
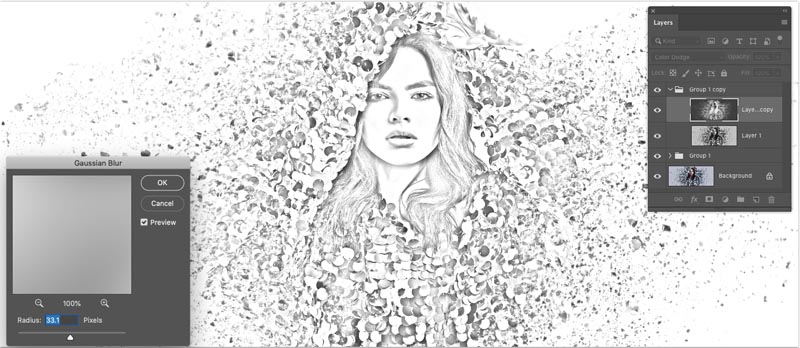
Filter>Blur>Gaussian Blur
Move the slider until you see some gentle shading
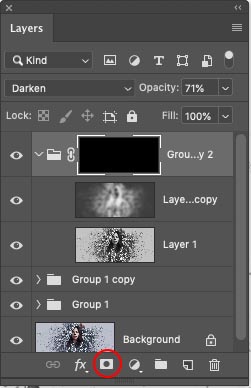
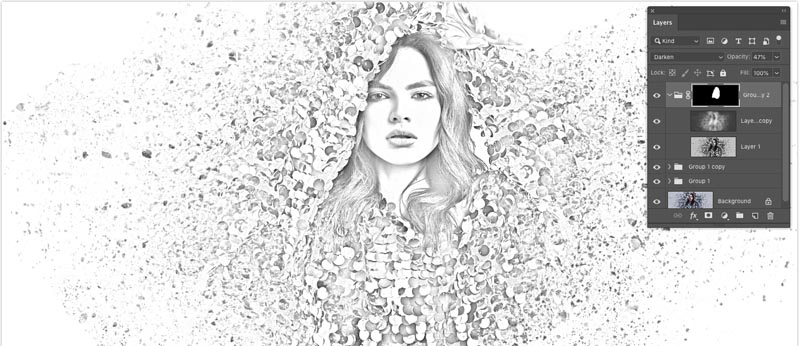
STEP 10. BLENDING THE 2 LAYER GROUPS TOGETHER.
Choose the top Group (not the pixel layer, but the group).

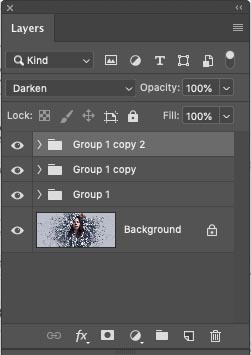
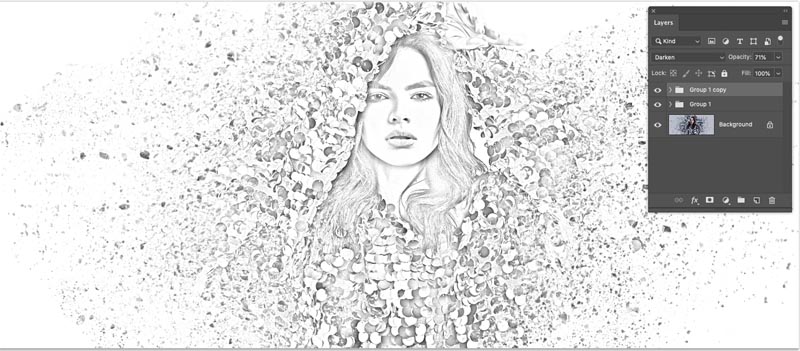
Change the Blending mode to Darken, You can apply blending modes to groups as well as individual layers.
Adjust the opacity for a nice match.
STEP 11
Duplicate the Top layer blending mode once again for a 3rd group. (Ctrl/Cmd+J)
STEP 12
Choose the top layer in the top group
Filter>Blur>Gaussian Blur
Move the slider until you see the final shading.
STEP 13. MASKING THE EFFECT
Let’s target where this effect should go with a layer mask.
Select the top layer group and add a Layer Mask, but wait. We want an inverted mask (Hides everything)
Hold down Alt/Option as you click the new layer mask icon in the layers panel. You will now have a black mask.

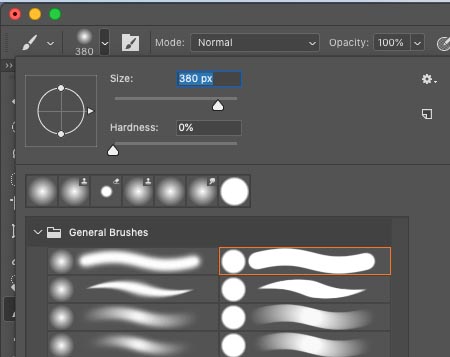
STEP 14
Choose a soft edged brush (B key)
Select white as the foreground color
Change the brush opacity to 30% in the top tool options.
STEP 15
With the mask selected, paint on the image and add the shading where you need it. It’s fun painting in the shading.
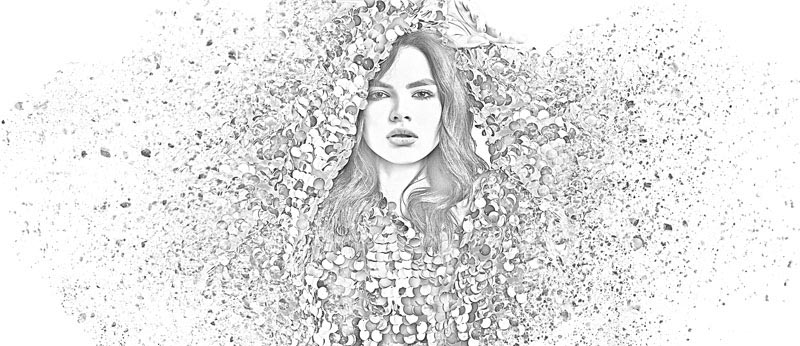
This completes the basic effect. Lets enhance it
XTRA CREDIT. ADDING EDGE SHARPENING.
a/ Select all the layers and Press Ctrl+Alt+Shift+E (Windows) Cmd+Option+Shift+E (Mac) to create a new composite layer on top

b/ Change the Layer Blending mode to overlay on the top layer
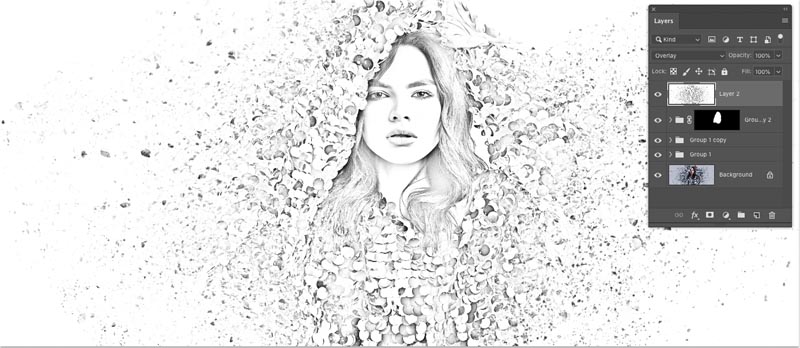
c/ Choose Filter>Other>High Pass
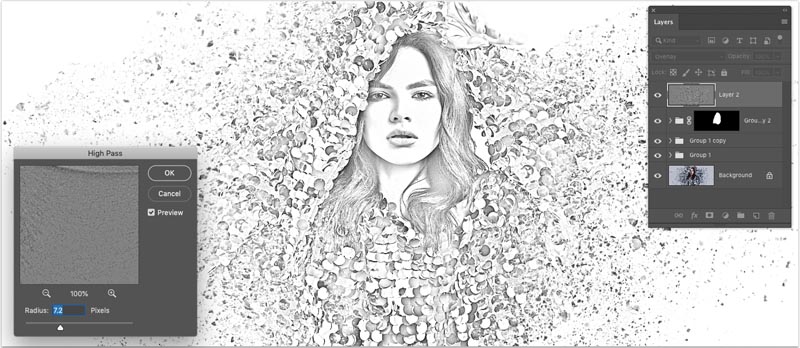
d/ Adjust the amount until you are happy with the nice sharp Edges.

You May Also Like

HOW TO MAKE REFLECTIONS IN PHOTOSHOP

CONTEMPORARY BACKGROUND BLUR IN PHOTOSHOP, FIELD BLUR TRICKS
