
HOW TO USE REPEAT TRANSFORM IN PHOTOSHOP, FOR REPETITIVE TRANSFORMATIONS
1.
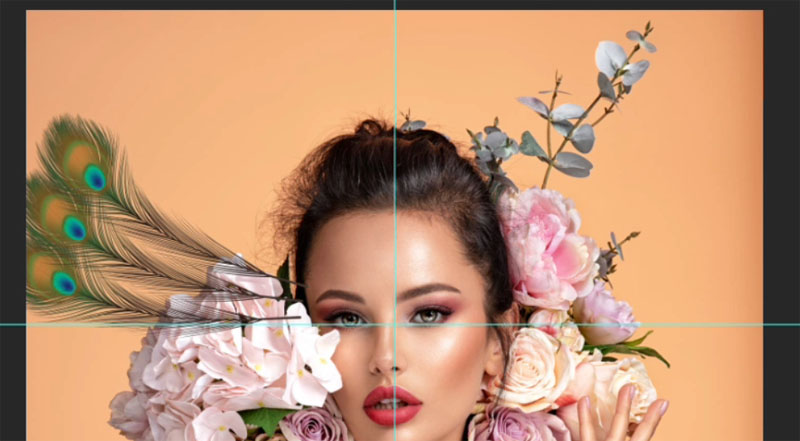
First thing, is to position the feather. Press Ctrl/Cmd+ T for free Transform. Rotate and position it. We want to make multiple feathers and rotate them around the head.
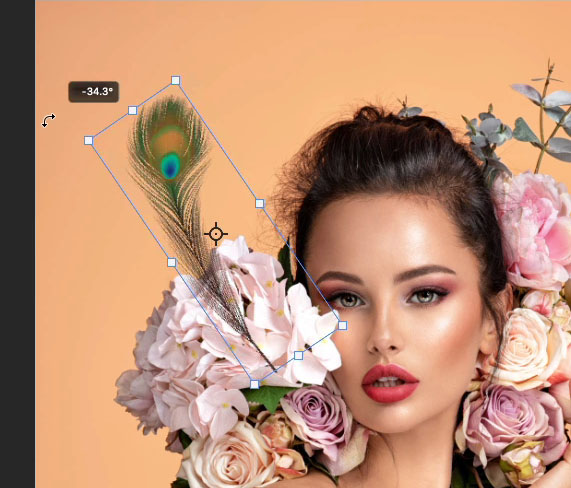
2.
With the move tool selected (V). click on the top left of the toolbar to make the piviot point visable.
3.
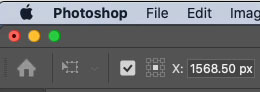
Drag to move the pivot point. It can be positioned outside the object boundaries, all transformations will happen around this pivot point. The video shows a good way to test the positioning of the pivot pont, by rotating the image around the point and visualizing where it will go.
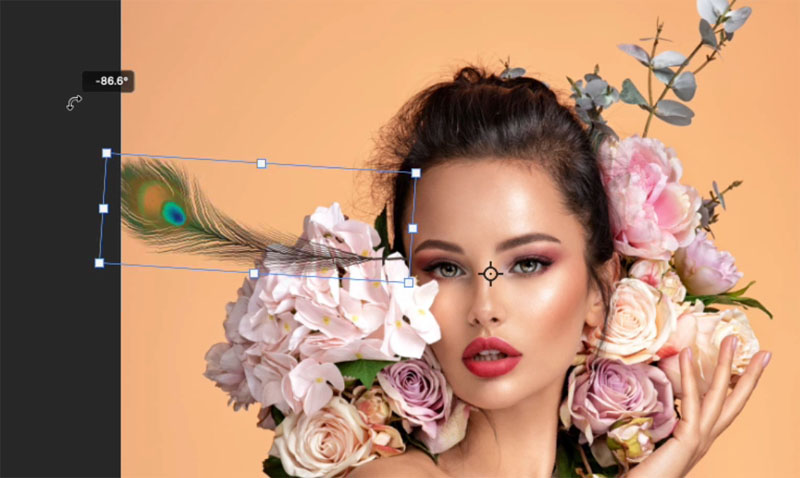
4. With the feather selected press Ctrl/Cmd+J, to duplicate the feather layer. Ctrl/command + T for free transform.

5. Rotate the duplicated feather into position. You only have to do this once, here is the magic…
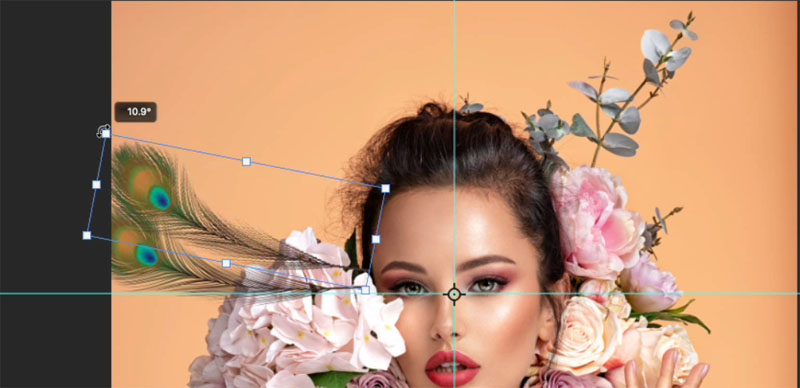
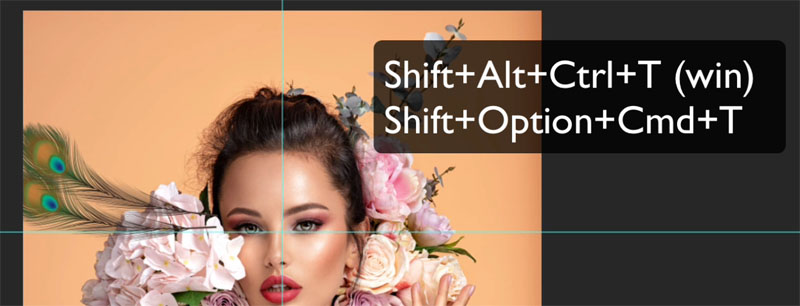
6. Holding down Shift+option+command (mac) Shift+Alt+Ctrl (windows) and tap the T key, notice that it repeats the last transformation and creates a new feather layer. Each time you tap the T key (while still holding down the other keys) you will get another copy with the transformation applied.
7. Repeat this all the way around.
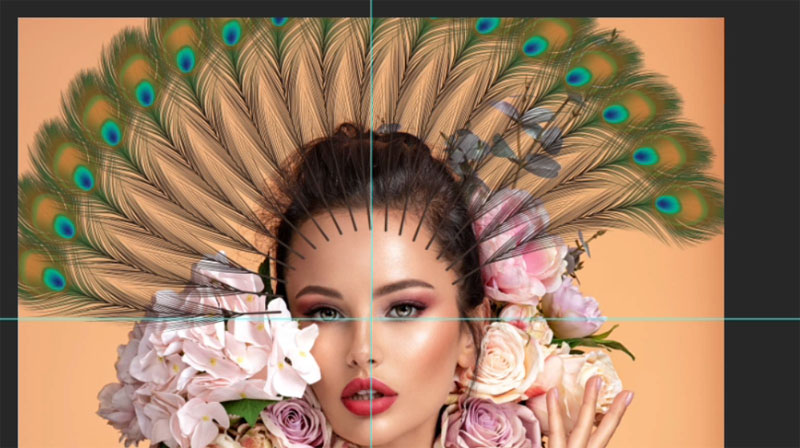
Because it’s repeating that same transformation from the pivot point, that pivot point is really important.
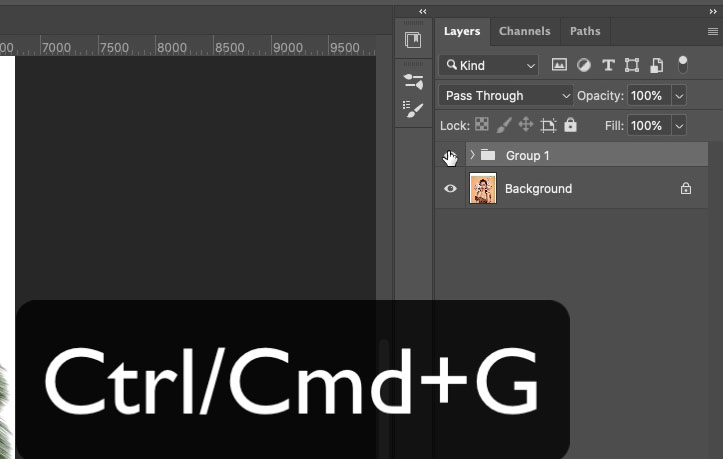
8. Let’s organize. Select all the feather layers: click the top one in the Layers panel. Hold shift and click the bottom feather layer, all the layers in between with be selected.
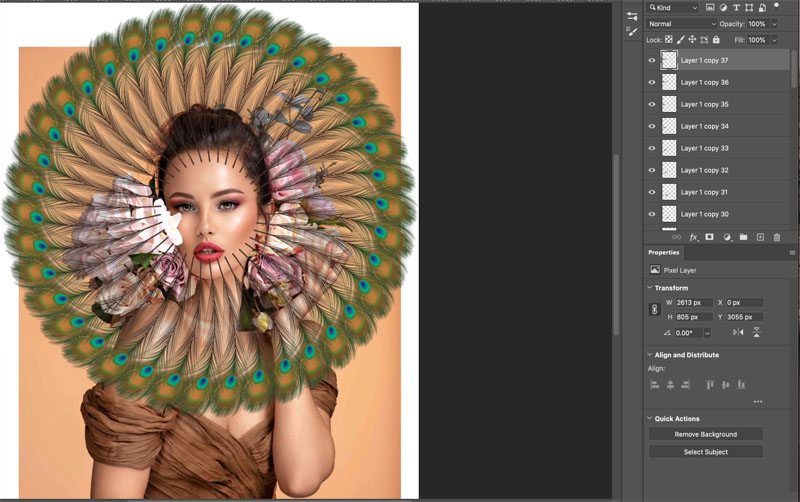
9. Press Ctrl/Cmd+G to put them all in a group. Much easier to work with. Click the eye in the layers panel to hide the feathers.
EXTENDING THE BACKGROUND
Here is how to extend the background color.
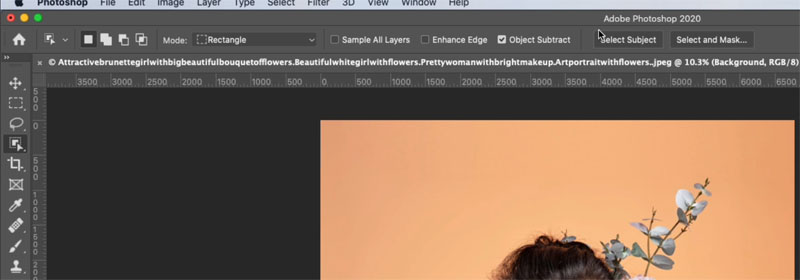
1. Choose the Rectangular marquee tool.
2. Drag to make a thin selection.
3. Press Cmd/Ctrl+T for free transform.
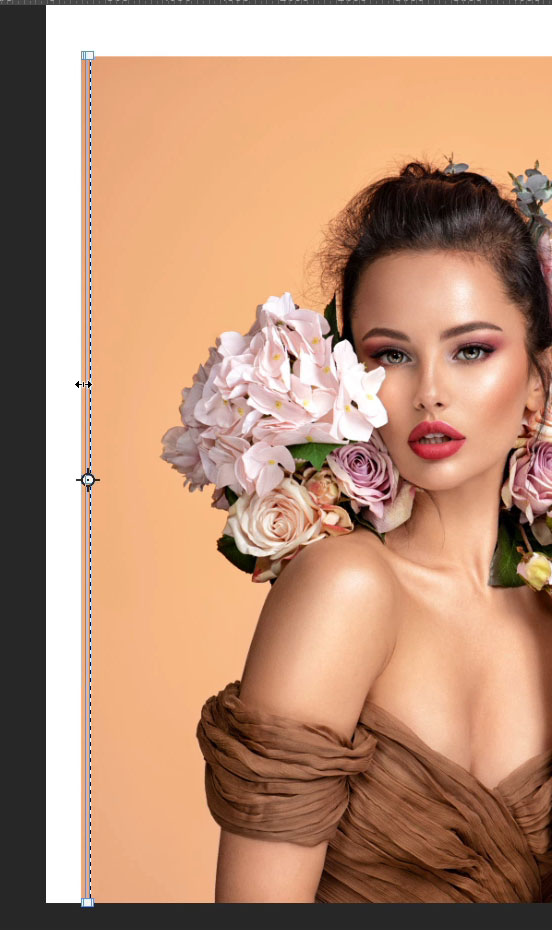
4. Drag the left side of the box while holding down Shift.
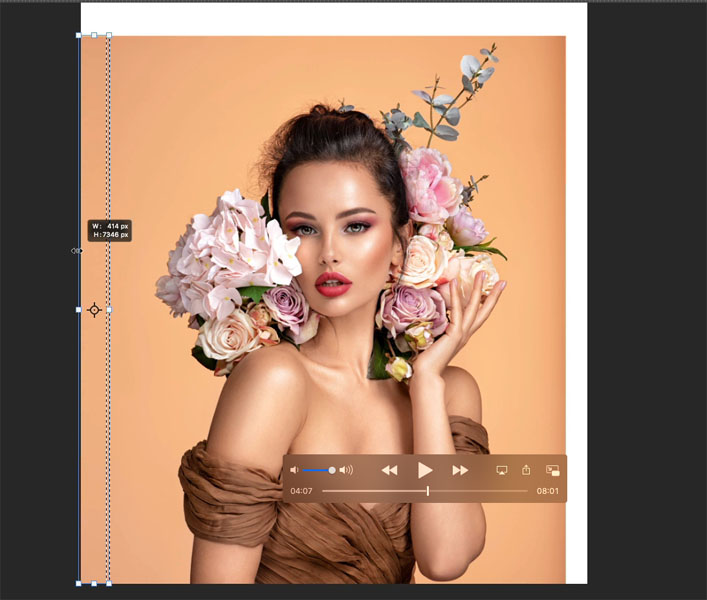
5. Press enter to apply. Repeat for the other 3 edges.
LET’S CUT OUT OUR MODEL.
1. Click the Object Selection, or quick select tool from the layers panel.
2. Click on select subject.
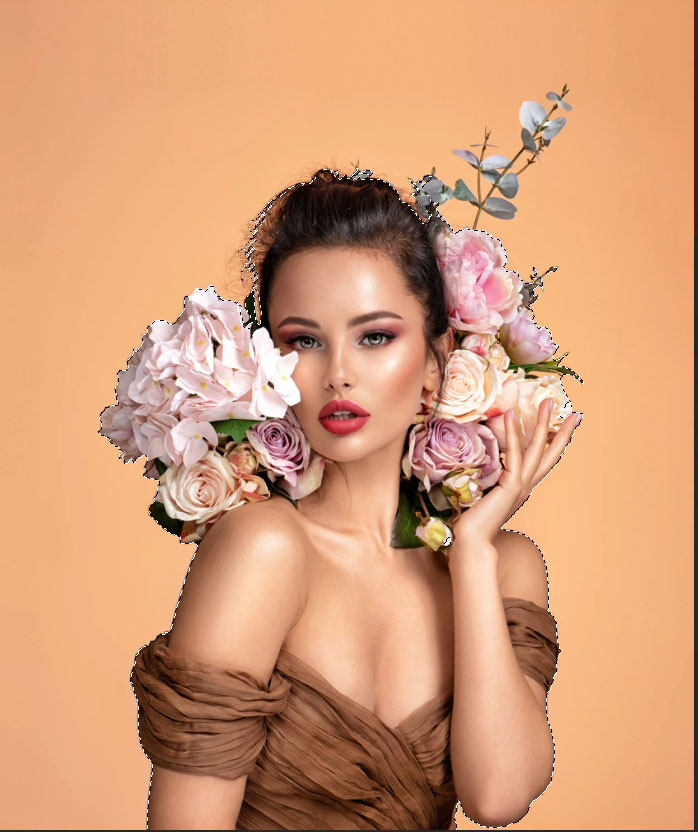
You will see marching ants selections. The selection doesn’t need to be perfect for this.
3. Press Ctrl/Cmd+J to copy the selected pixels to a new layer.
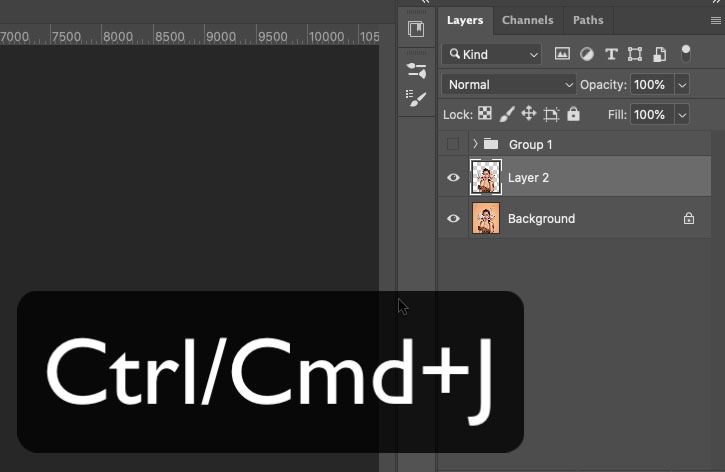
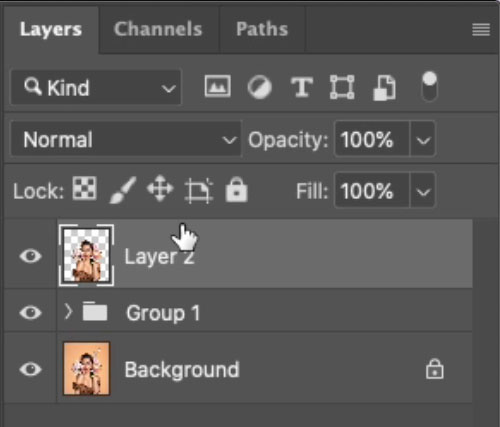
4. In the layers panel, drag our cutout of the model, above the Feathers group.
5. Click the eye to make the feathers visible again.
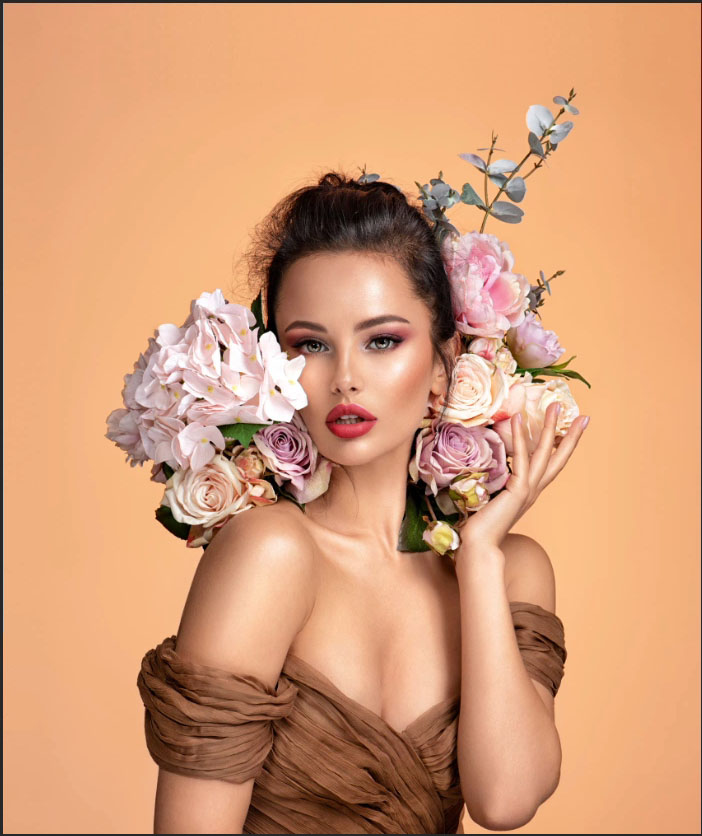
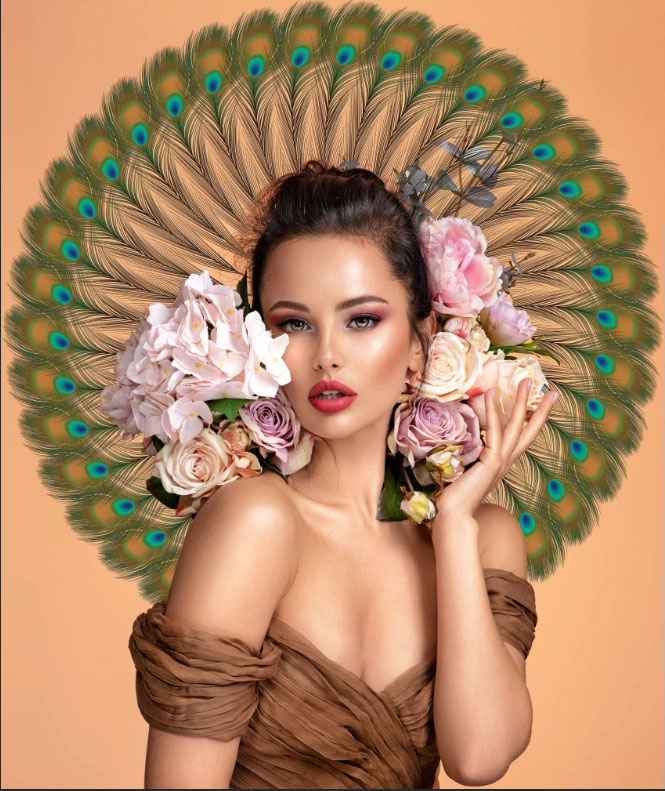
And here is our result! That could have taken a lot longer without the repeat transformation.

You May Also Like

How to create a neon glow in Photoshop, with information on layer style and font.

HOW TO MAKE PHOTOS LOOK BETTER IN NEW CAMERA RAW
