
How to create a neon glow in Photoshop, with information on layer style and font.
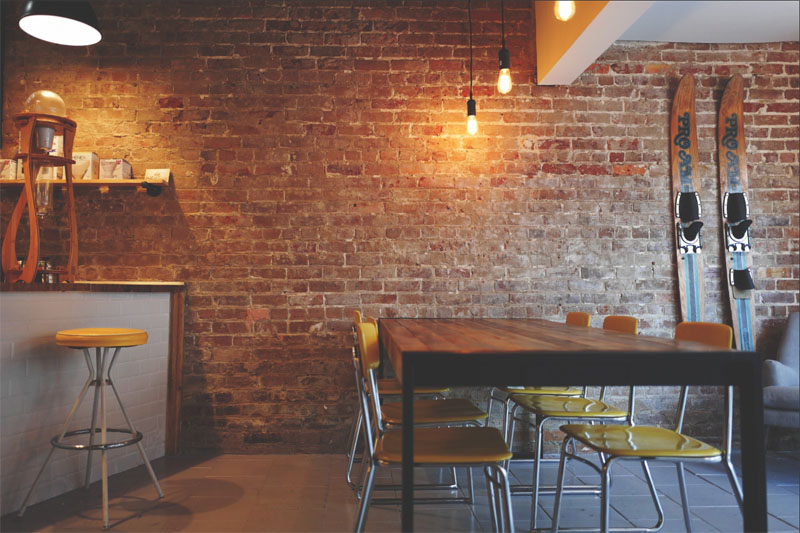
Here we have a nice brick wall to put it against.
1.
Let’s add some type, with the type tool.
Type in PSCafe. or whatever you want to say. Use the options bar at the top to change the type size.
I found a free font called Neon Tubes 2 (link at top)
Zoom into 100% by double click the magnifying glass. Hold the space bar and drag to position your window.

2. CREATING THE NEON EFFECT IN PHOTOSHOP (LAYER STYLES)
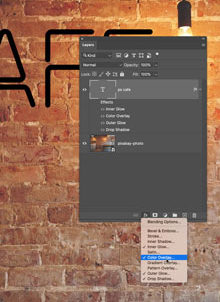
With our type layer selected, go down to the layer styles where it says fx. Click and choose color overlay.
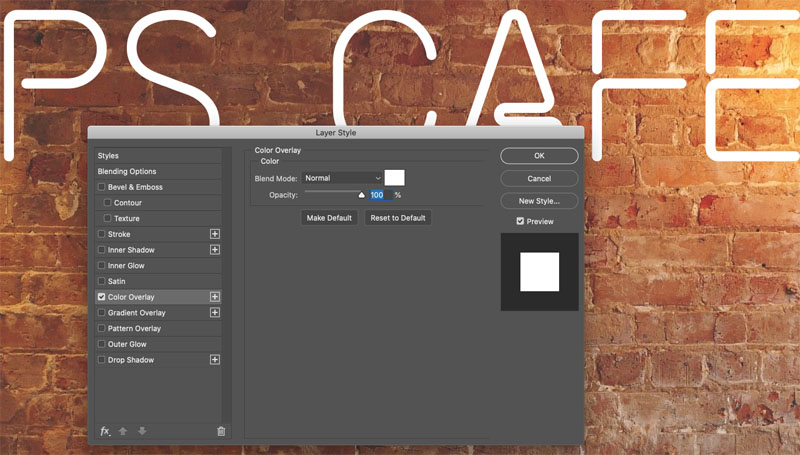
The Layer Effects dialog box will open.
Set color overlay to white by clicking the color swatch. I probably could have just created white text in the first place, but it doesn’t matter.
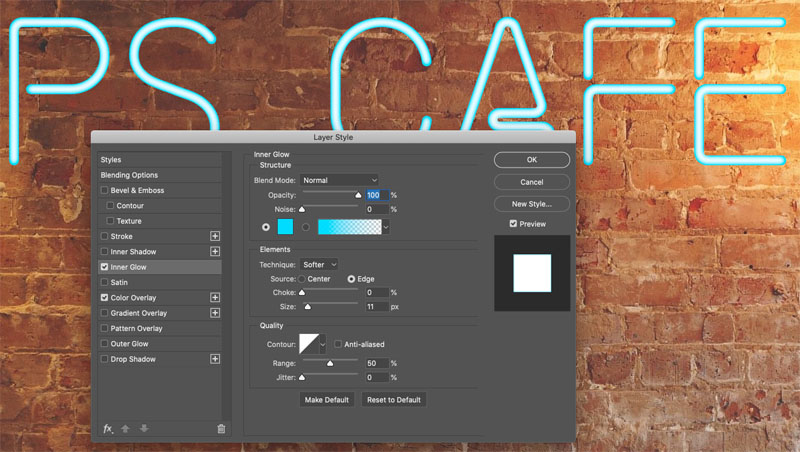
Let’s give this a neon color. Choose the inner glow and click on it to bring up its options.
Choose a color with the color picker, grab a nice neon blue, or choose whatever color you want. It could be yellows, pinks, whatever you want.
Change blend mode from screen to normal.
Adjust the size and turn the opacity all the way up. Now you have two options, center or edge, we’re going to use edge.
We’re starting to get a little neon color around the edges of our type. That’s great.
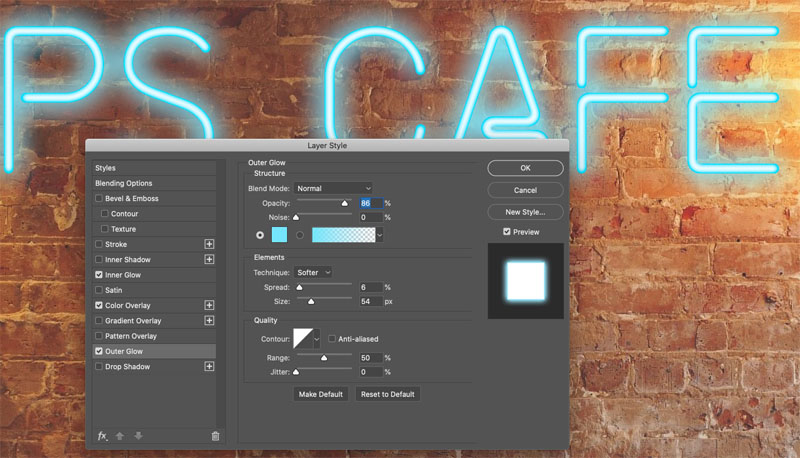
Go down to our outer Glow and give it a bluish color
Choose normal blend mode, and let’s increase our size.
Set opacity to 86
We have a nice haze. We need another glow on the inside, which is going to give off a brighter color.
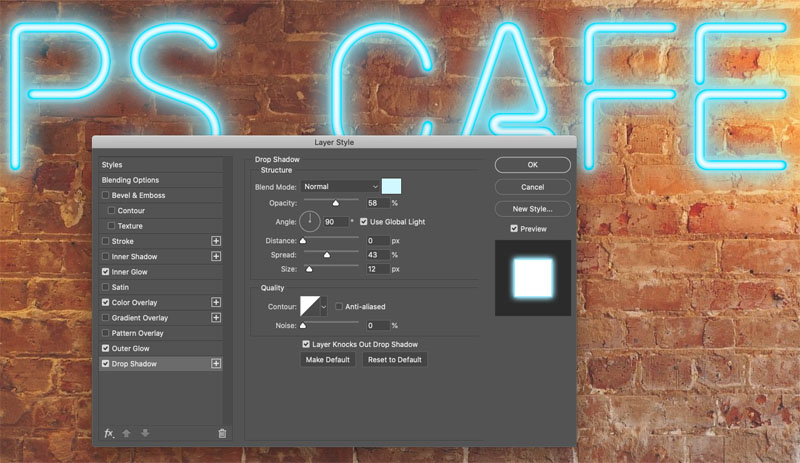
Now, notice that there’s only one outer glow option. What do we do?
We can cheat, we can use the drop shadow as an outer glow. In fact, it works very similar if we set the distance to zero.
Choose a color. Give it some blue, but not too much.
Turn our capacity up and increase the size. Change to normal blend mode and see how it starts to glow.
Bring the size down just a little bit and increase our spread. As we increase the spread it makes it thicker and soften it with the size and notice a little bit goes a long, long way with that.
Finally adjust the opacity.
We’ve got our neon tubes going, let’s give this a little bit of a glow around the background area.
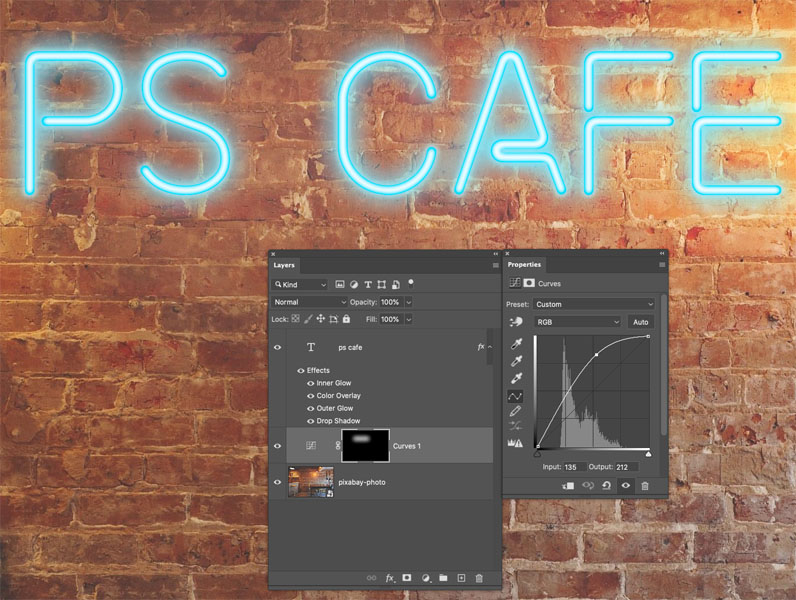
Grab our rectangular Marquee tool and make a rectangular selection around the area of the neon.
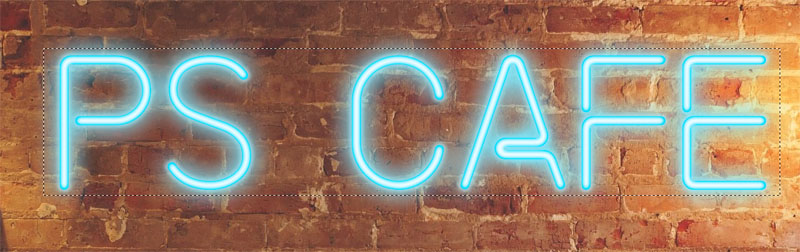
Select>modify>Feather and make it really big. I used 177, it’s going to create a big soft edge.
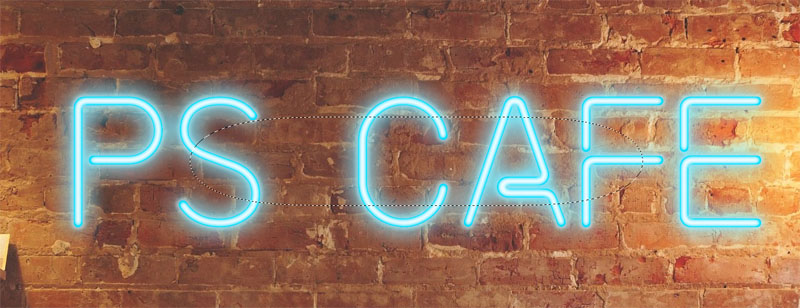
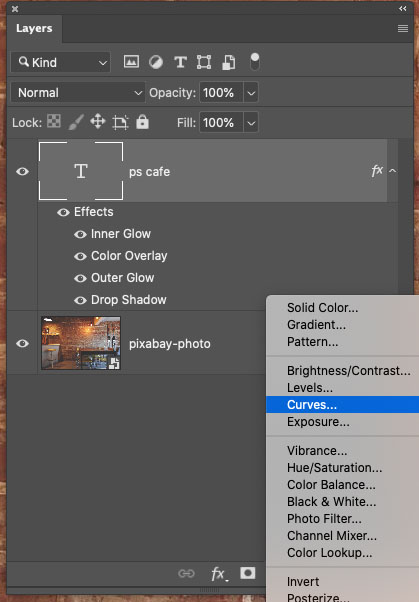
Click to add an Adjustment layer. Choose curves.
Push the curves up in the midtone area.
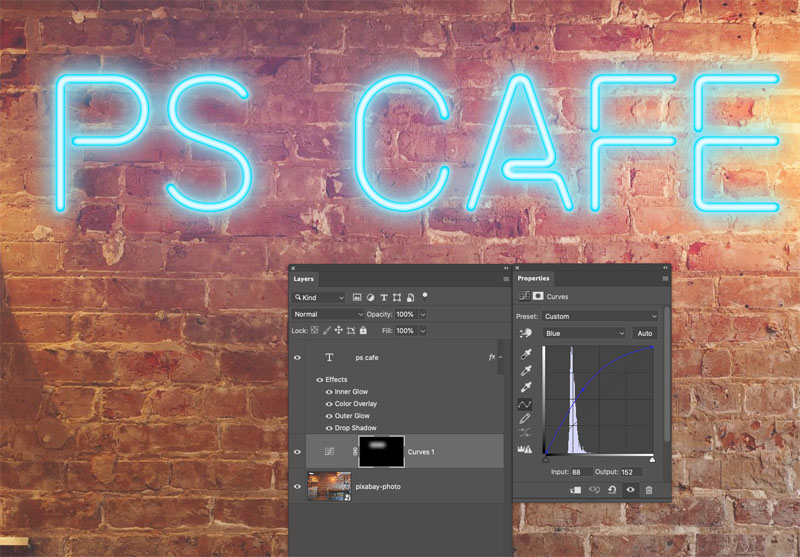
And if you wanted to do a little bit of the color, chooose the Blue channel (Click RGB and change to Blue) and boost it.
Grab the Red channel and reduce it a little.
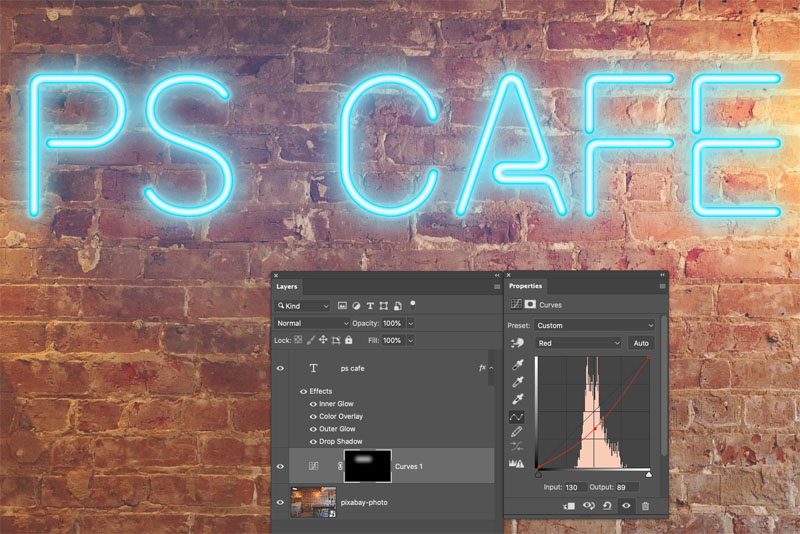
One of the neat things about this effect is that we can change it at any time, just grab our type to select our type and type in whatever you like.


You May Also Like

USE PHOTOSHOP TO TRANSFORM A LANDSCAPE PHOTO INTO A BEAUTIFUL SUNSET

HOW TO USE PHOTOSHOP TO CREATE GOOD NIGHT SHADOWS. A PRODUCT IS LIT IN PHOTOSHOP
