
CROPPING TO AN EXACT SIZE IN PHOTOSHOP, ULTIMATE PHOTOSHOP CROP TUTORIAL
STEP 1.
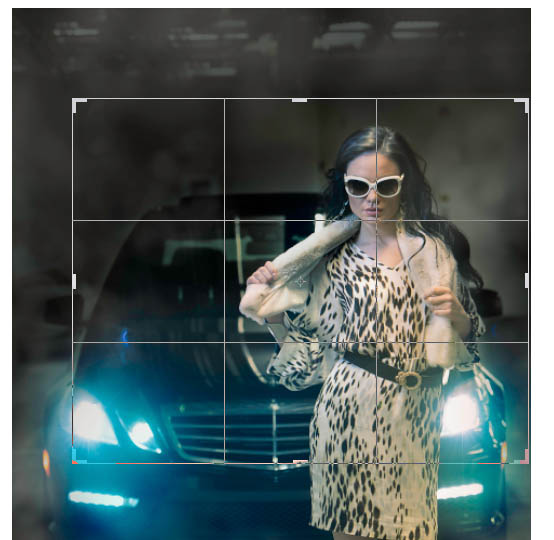
Choose the crop tool from the toolbar, or press the C key.
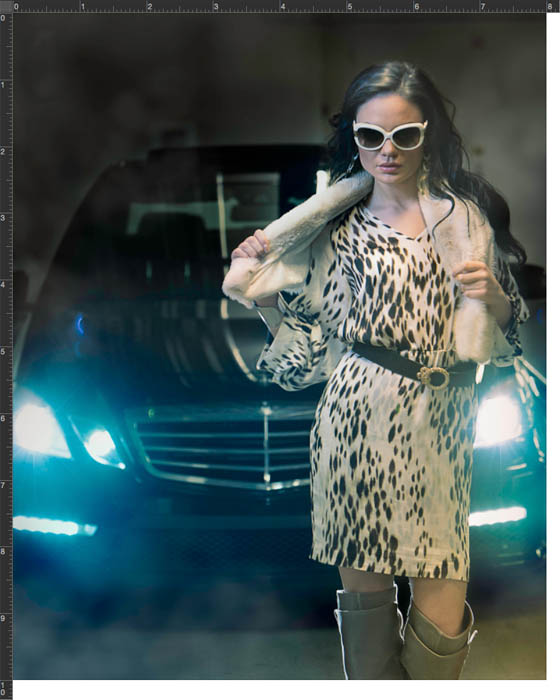
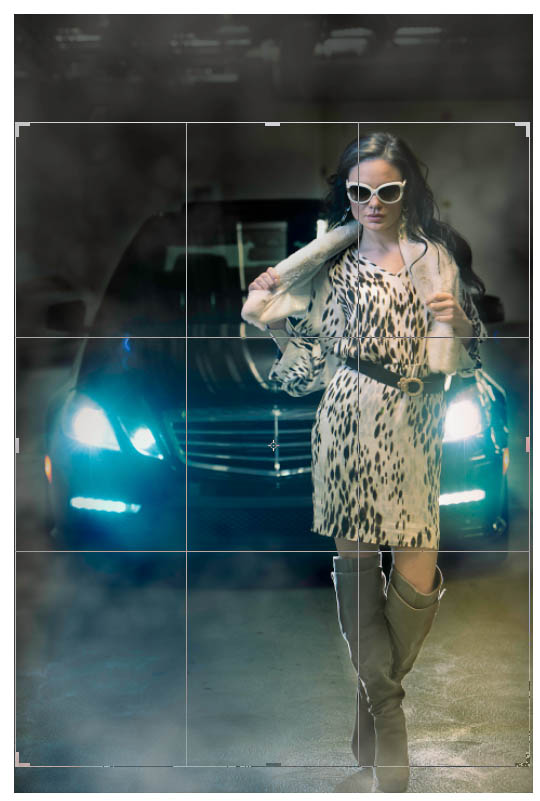
You will see the crop boundaries, which can be selected and dragged. (Holding down Shift will constrain the shape)
STEP 2.
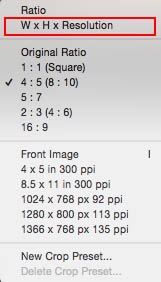
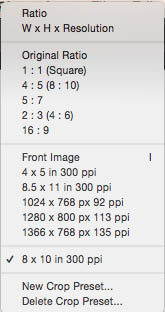
In the tool options bar at the top, change the option to W x H x Resolution. (Width, Height Resolution).
STEP 3.
You can now type in your desired aspect ratio, or size. I have typed in 8 in x 10 in. I added the “in” to force the scale to inches. You could also use the ” inches symbol.
If you don’t enter anything in the resolution field, it will just set an aspect ratio without any resolution (final size). This is where people get messed up. Shape, but not size.
For resolution, enter the desired final resolution. For print, it’s usually 300ppi (DPI printed). For online, 72 is common. Also 180 or 360 works well for Epson printers.

Now, when you change the crop area, it stays locked at the 8×10 aspect ratio: 8 (in) x 10 (in). It doesn’t matter what size you make the cropped area, it will always be 8 x10 (or whatever you entered into the boxes).
STEP 4
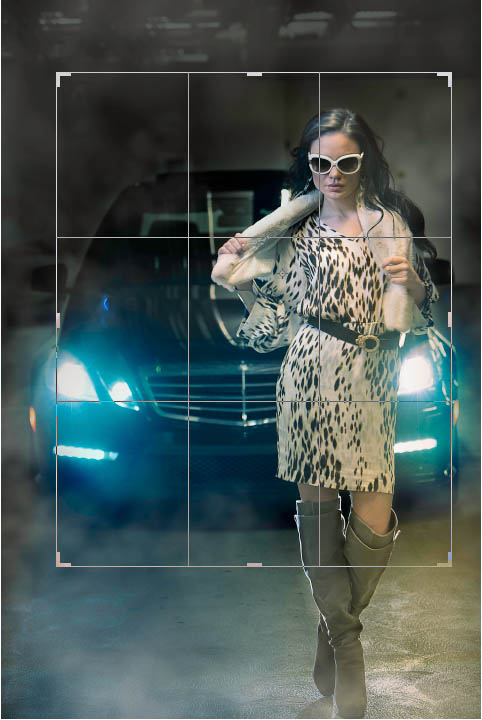
Press the Enter Key (or the checkmark in the toolbar) to apply the crop.
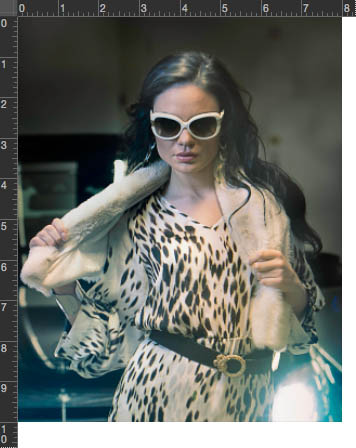
Notice that it is exactly 8×10 inches. That’s because of the resolution setting.
If you change the crop area and apply it, it will still end up at 8in by 10in at 300ppi
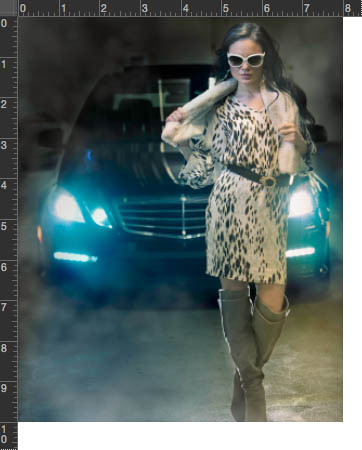
Even when you crop in really tight, it will still be the same final size.
As you can see, this is really useful for preparing files without having to think too much or do math.
XTRA CREDIT
MAKING A CROP PRESET
Let’s save these settings as a preset, so that we don’t have to enter it every time.
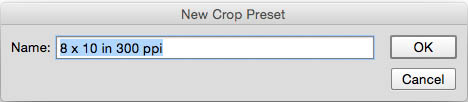
In the drop down, choose, New Crop Preset
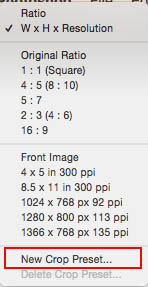
Photoshop will name it for you, or you can add your own name if you prefer.
When you open the drop down menu from the options bar, the preset will always be available at the bottom of the menu for 1-click application.
CHANGING THE ORIENTATION OF THE CROP TOOL
Notice that our cropping has all been in portrait orientation so far. If you want to change it to landscape, just press the double arrow tool which will flip the settings.
They can also be entered in the boxes differently, remembering that the first number will always be the width and the second the height.


You May Also Like

HOW TO COLOR GRADE PHOTOS IN 1-CLICK WITH GRADIENT MAPS IN PHOTOSHOP

How to Blur in Photoshop
